1. Create a New Application in Okta
-
Go to the Okta Admin console, navigate to Applications, and click Create App Integration.
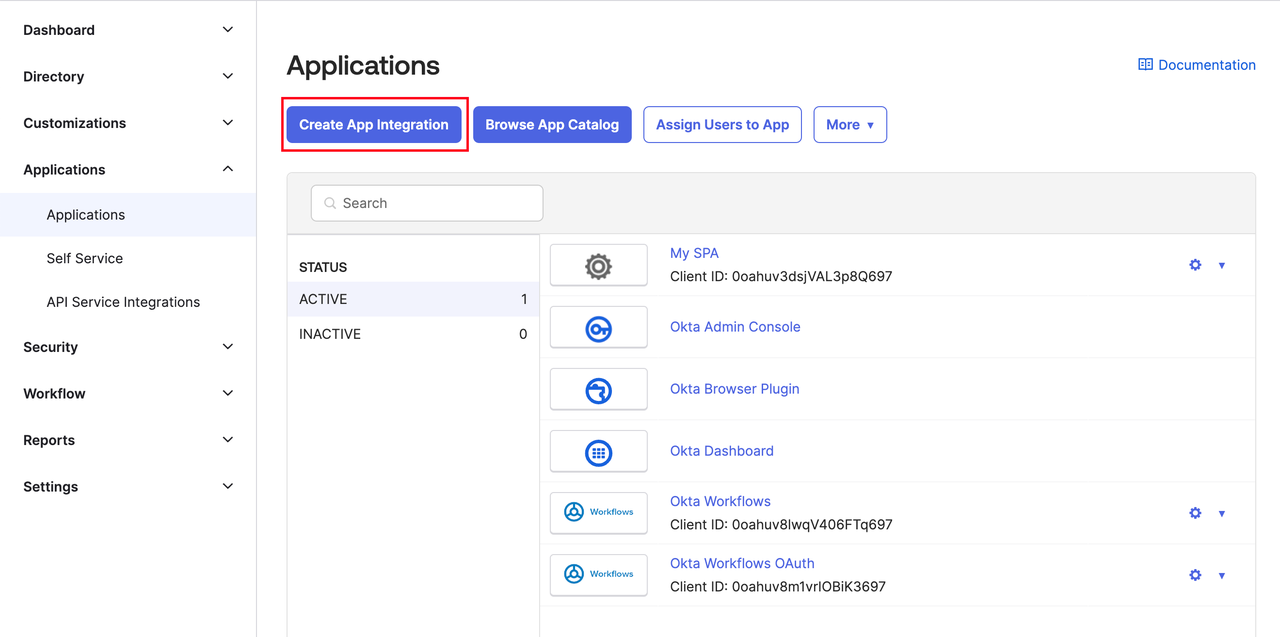
-
Follow the prompts to name your application and define authorization scopes as needed.
- The Sign-in redirect URIs field must be set to the Dify Enterprise Callback URL (see below).
- Leave the Sign-out redirect URIs field blank.
2. Configure the Okta Application
Depending on the SSO scope you want to enable, the Callback URL may vary. The system administrator must add the Dify Enterprise Callback URL to the corresponding Okta App in order to complete the setup.- Workspace
- WebApp
On the Dify Enterprise Authentication page, in the Workspace Settings section, click + New Identity Provider → New OAuth2 Provider. At the bottom of the page, locate the Callback URL.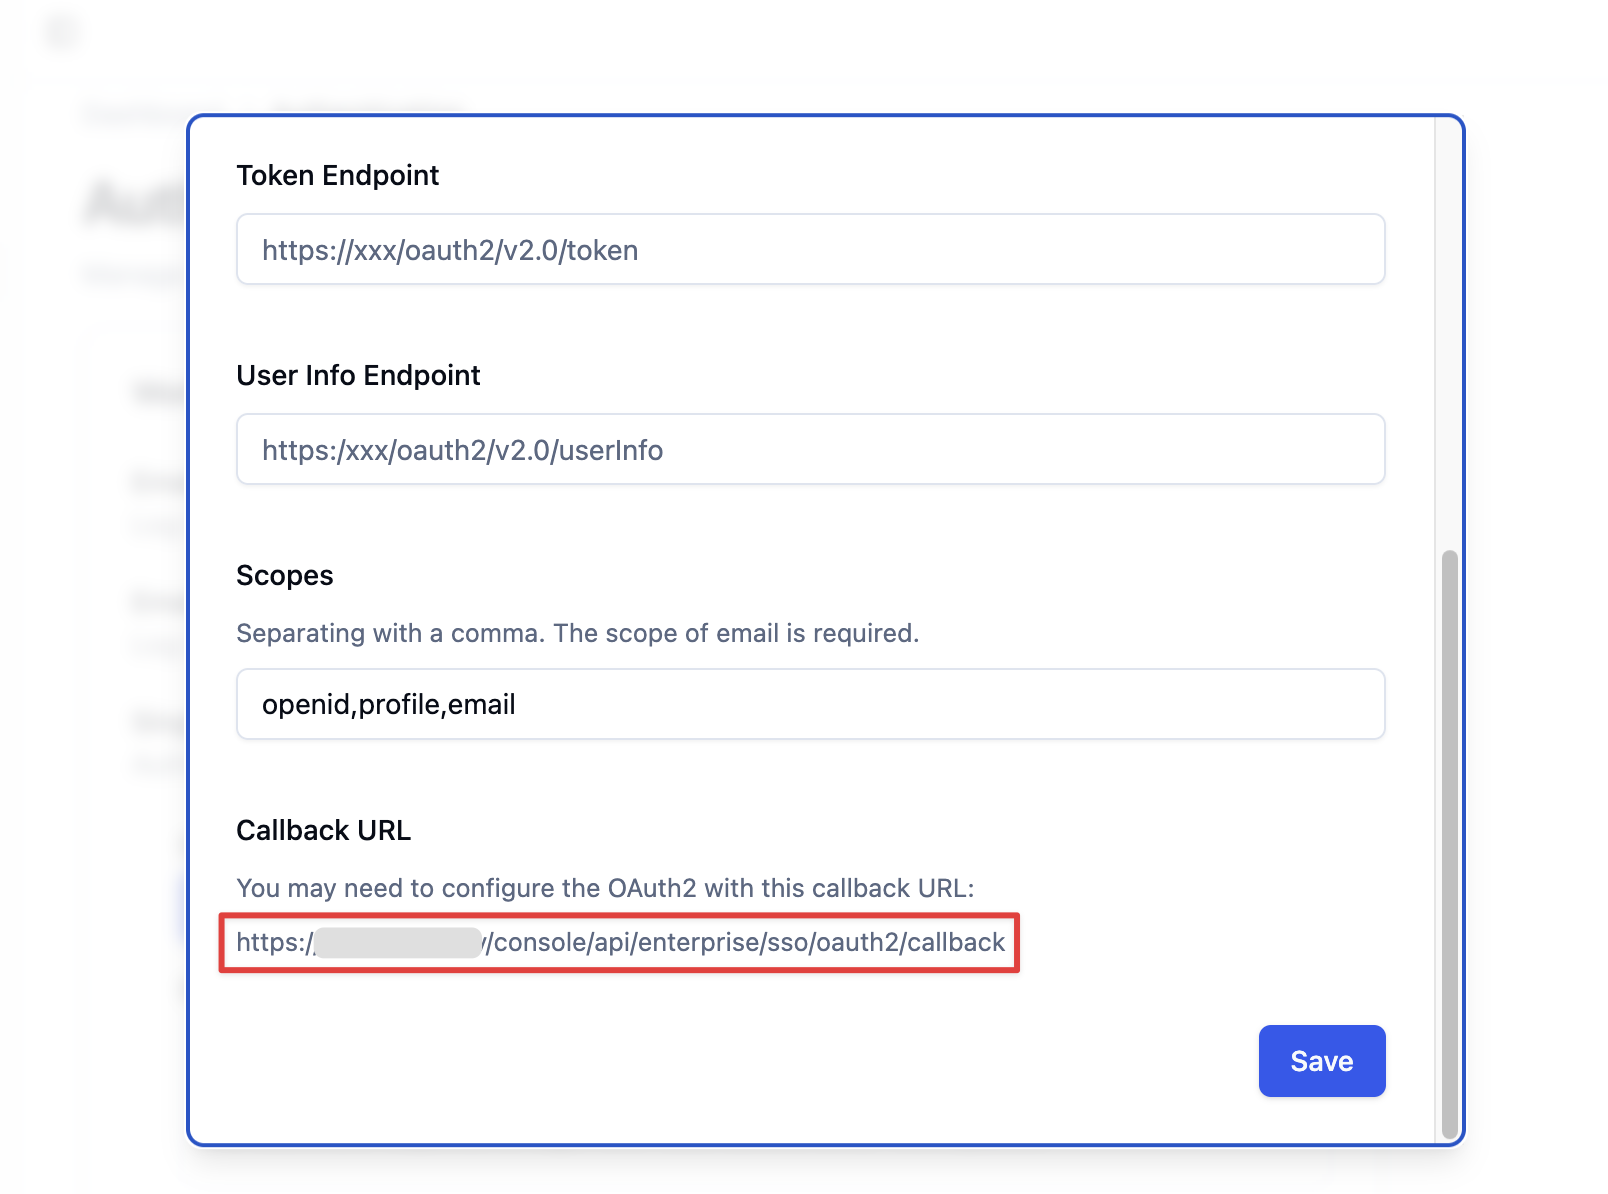 It typically follows this format:
It typically follows this format: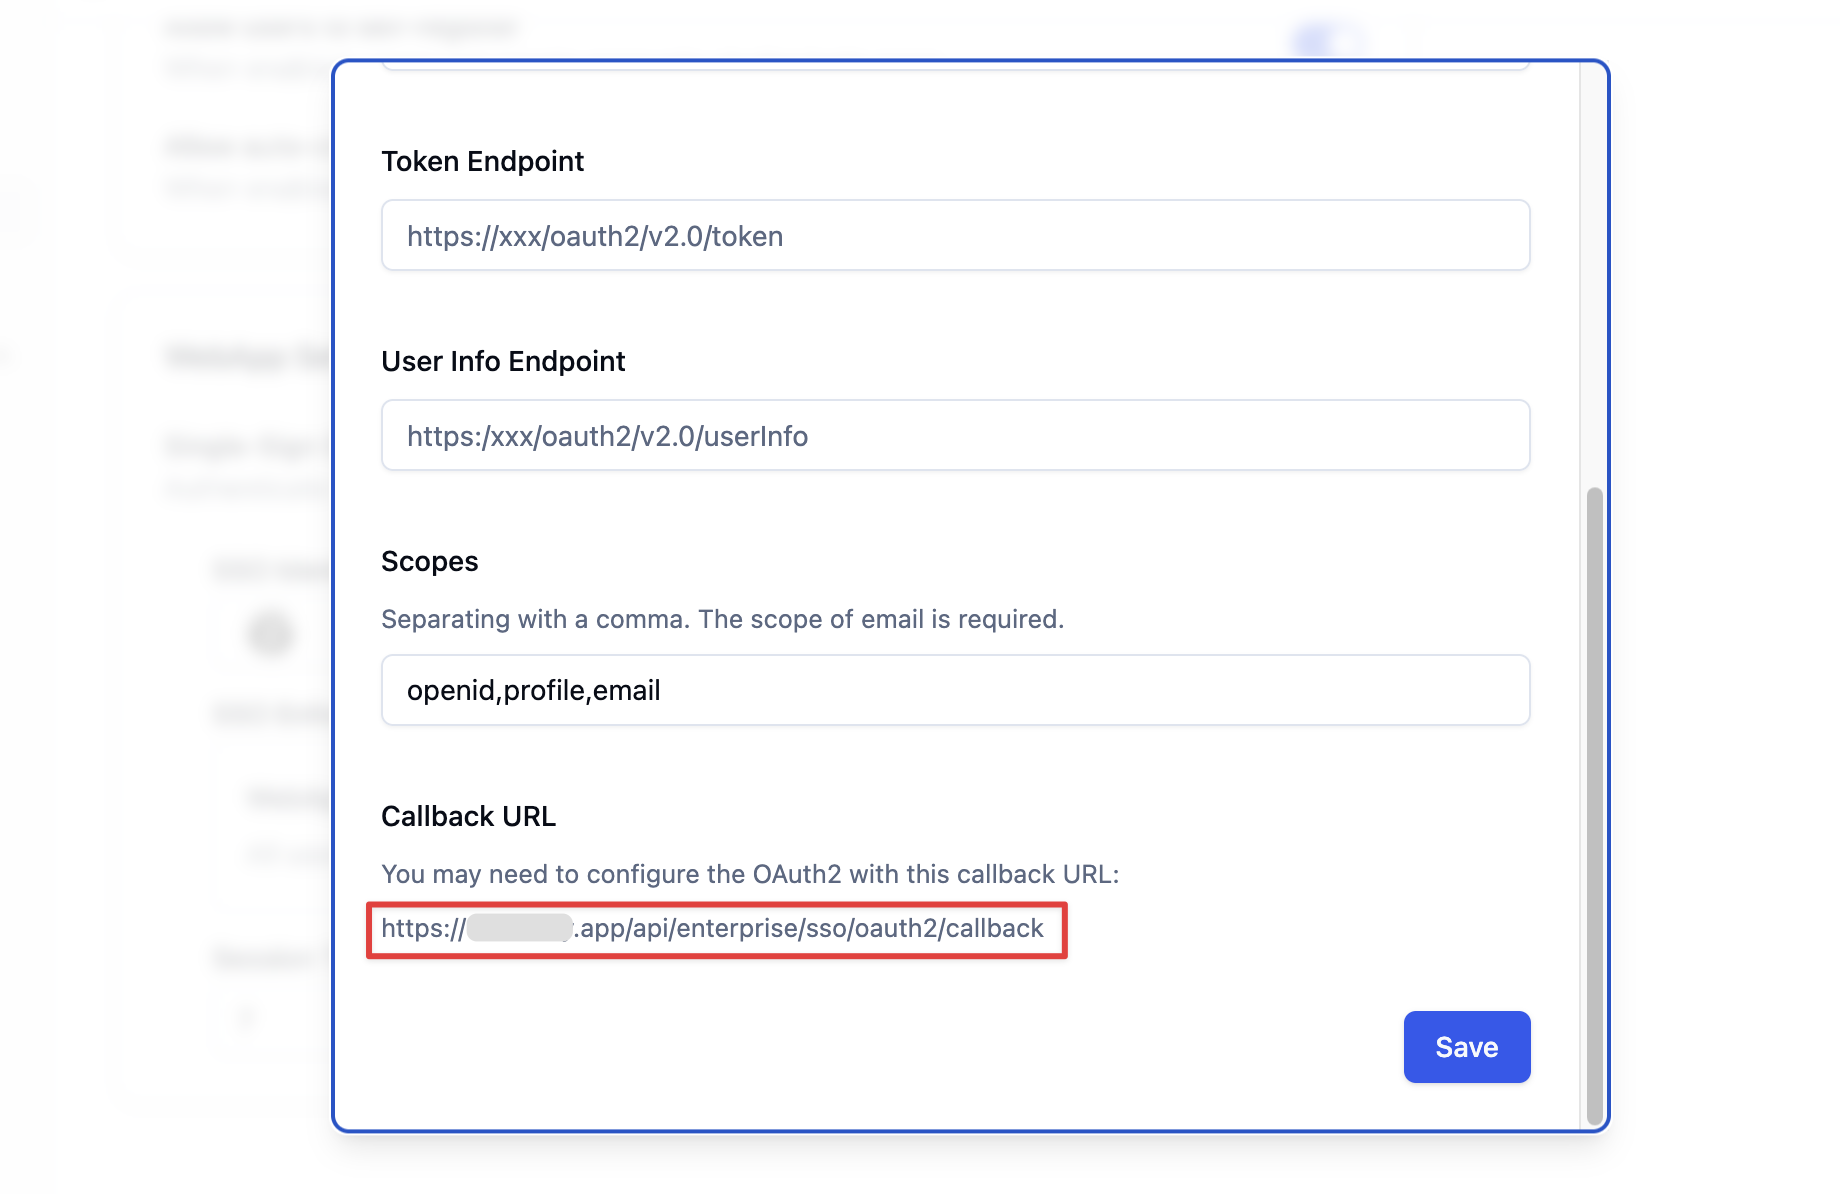
- Paste this URL into the Sign-in redirect URIs field of your Okta app.
3. Enable OIDC Authentication
3.1 Retrieve Key Information from the Okta Application
-
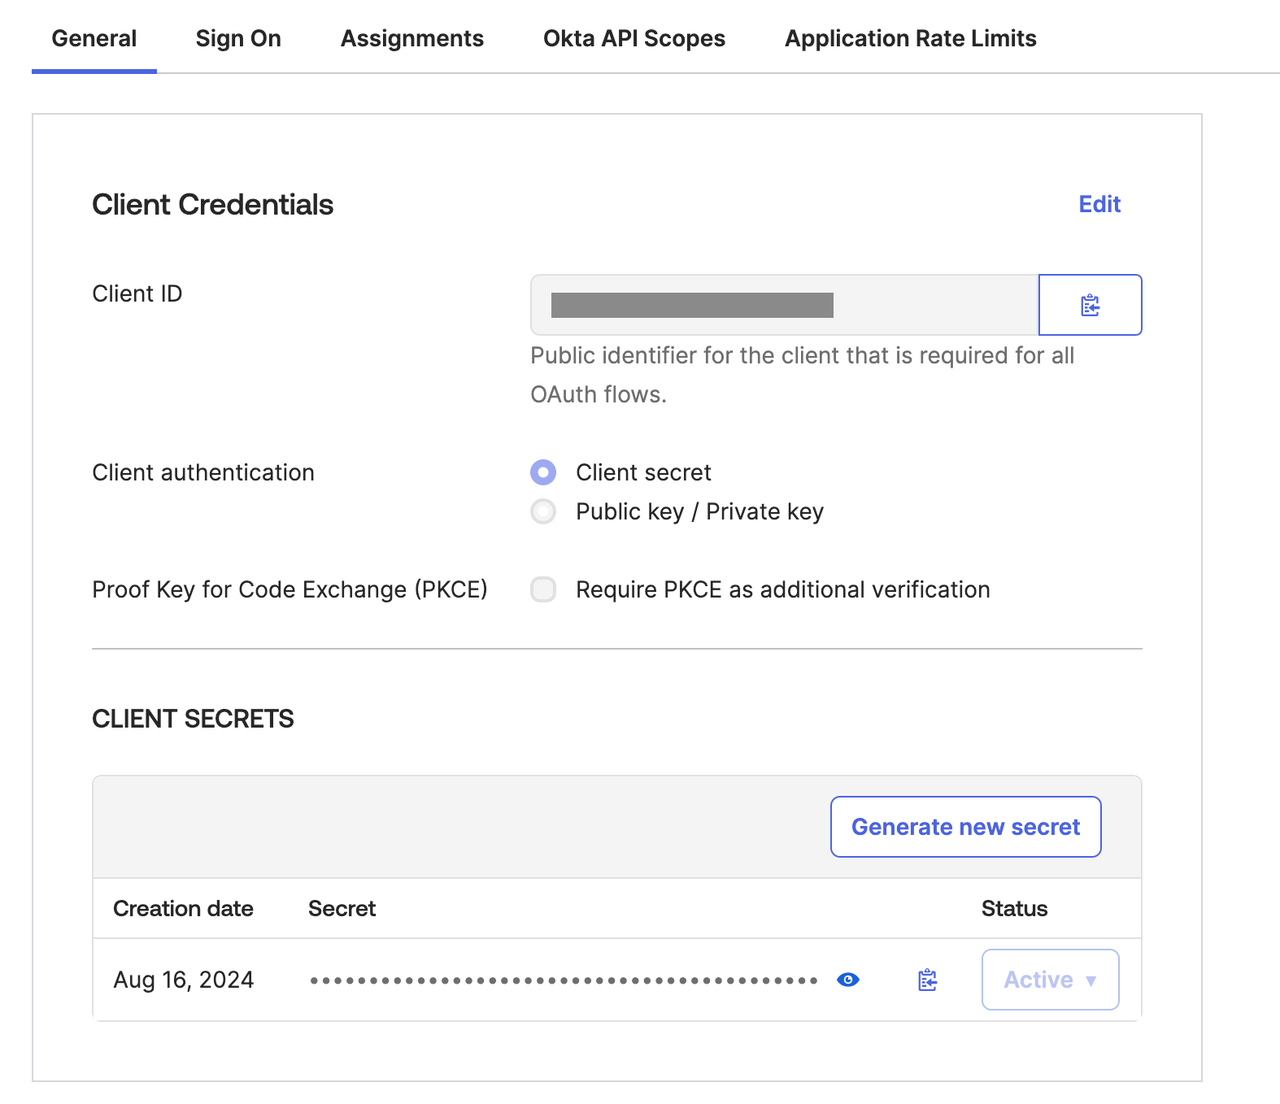
In the application’s General tab, locate the following fields:
- Client ID
- Client secret
-
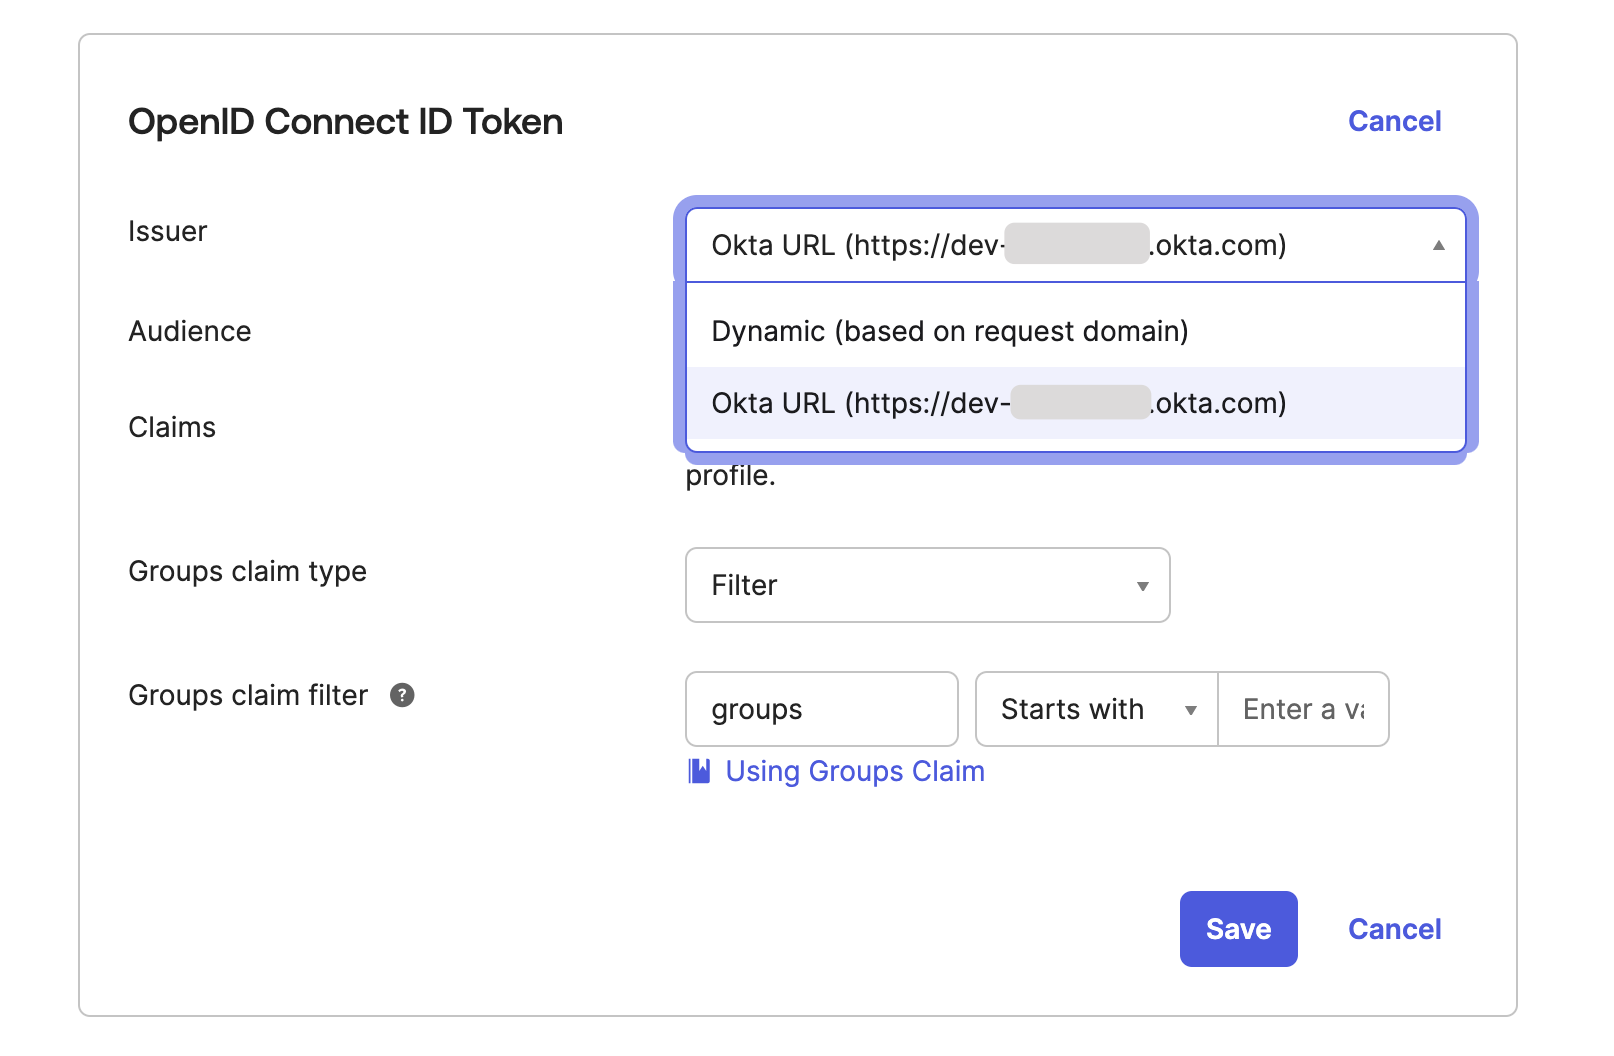
Switch to the Sign On tab and find the Issuer field. Set Issuer to a fixed link, then copy the information.
3.2 Configure OAuth2 Authentication
On the Dify Enterprise Authentication page, click + New Identity Provider → New OAuth2 Provider, and follow the prompts to fill out the following information:- Issuer URL
- Client ID
- Client Secret
4. Enable SSO Enforcement (Optional)
The system administrator can enable SSO Enforcement for the following scenarios, making authentication mandatory:- Workspace: Requires authorization to log in to the Dify Enterprise Workspace.
- WebApp: Requires authorization for applications created by this Dify Enterprise instance.