Introduction
Triggers are available for Workflow applications only.
Pull Request, Push, and Issue. If you subscribe to the Pull Request event and add the Pull Request plugin trigger to your workflow, it will automatically run whenever someone opens a pull request in the specified repository.
Add and Configure a Plugin Trigger
- On the workflow canvas, right-click and select Add Node > Start, then choose the plugin trigger event you want to start the workflow. To find more trigger plugins, search the Marketplace.
- Select an existing subscription or create a new one. The trigger needs a subscription to receive events.
- Configure any other required settings.
The output variables of a plugin trigger are defined by its trigger plugin and can’t be modified.
Create a Subscription
A subscription is a webhook that listens for events from an external system. Each trigger plugin supports up to 10 subscriptions per workspace.What is a webhook?
What is a webhook?
A webhook lets one system send real-time data to another. When an event occurs, the source system packages the details into an HTTP request and sends it to a URL the destination system provides.
Prerequisite: set the callback URL baseDify builds each subscription’s callback URL from the
TRIGGER_URL environment variable plus a plugin-specific path. The default http://localhost:5001 is unreachable by external systems, so set TRIGGER_URL to a public domain or IP they can reach, then restart Dify before creating subscriptions.- Automatic: You pick the events to subscribe to, and Dify creates the webhook in the external system for you. This requires prior authorization, through OAuth or an API key, so Dify can set it up on your behalf.
- Manual: You create the webhook yourself using the callback URL Dify provides. No authorization needed.
- OAuth (Automatic)
- API Key (Automatic)
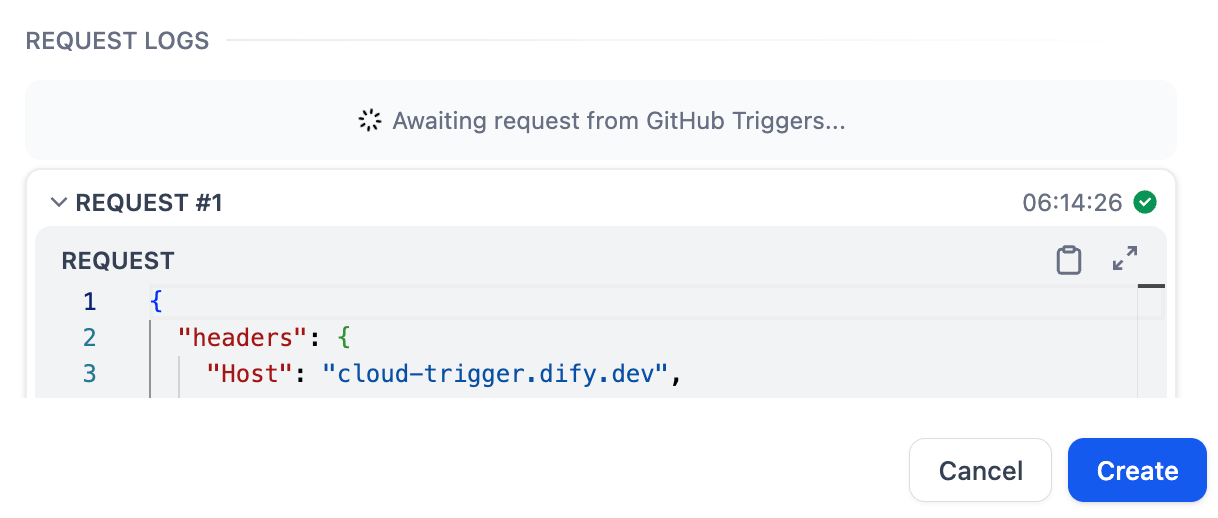
- Paste URL to create a new subscription (Manual)
- Select Create with OAuth > Custom.
- In the external system, create an OAuth application using the callback URL Dify provides.
- Back in Dify, enter the application’s client ID and client secret, then click Save and Authorize.
Once saved, the same credentials can be reused for future subscriptions.
- Name the subscription, select the events to subscribe to, and configure any other required settings.
- Click Create.