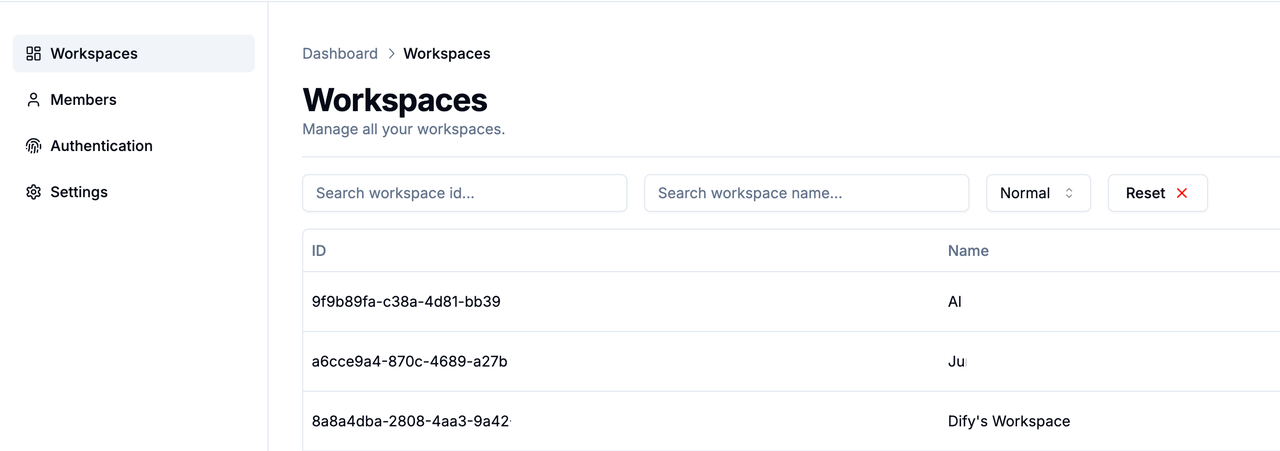
Create Workspace
To create a new workspace within the team:- Click the blue “Add” button in the upper right corner of the Workspaces page
- Set a name
- Specify a team member’s email
Managing Workspaces
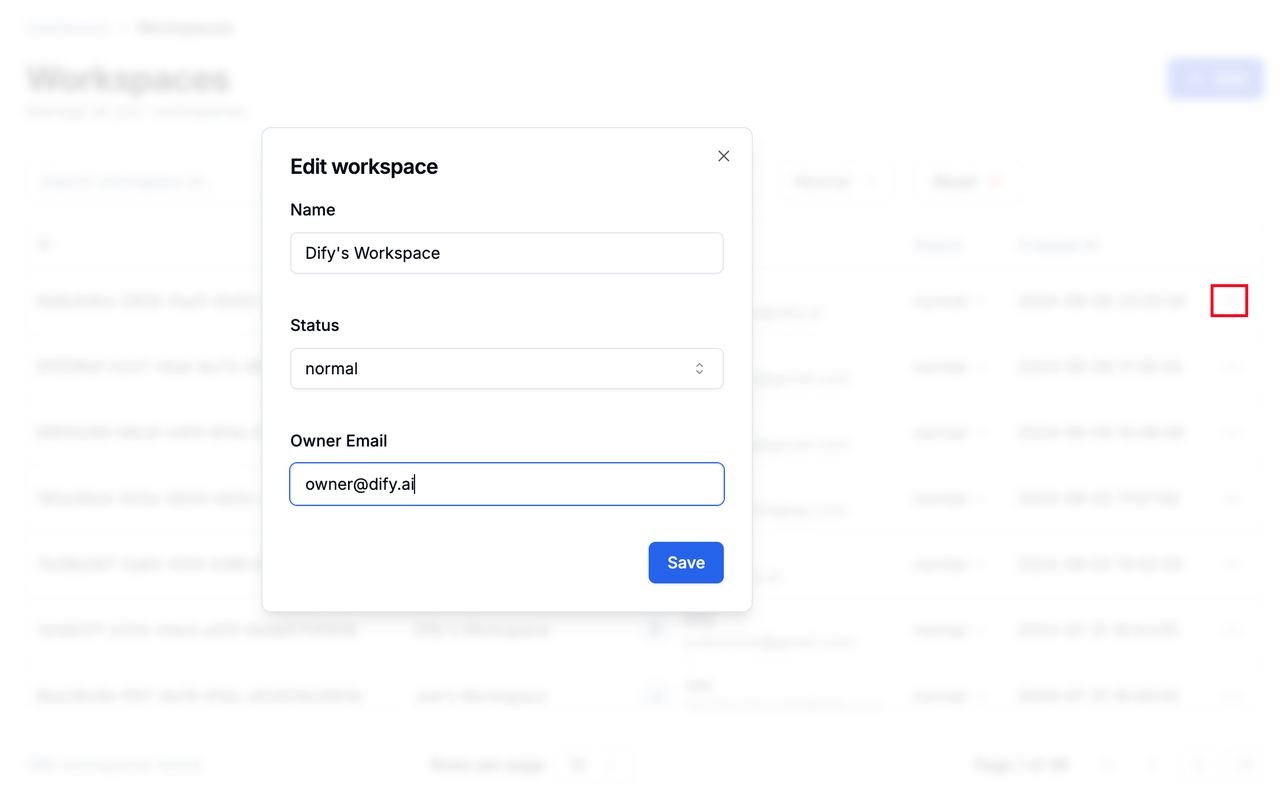
Administrators can reassign the Owner and modify members’ names and status on the Workspaces page:- Click the menu button on the right side of the Workspace
- Tap the “Edit” option
- Make changes on the newly popped-up editing page
Viewing Members in a Workspace
Administrators can view the Owner and members of any workspace:- Select any workspace
- Click the menu button on the right
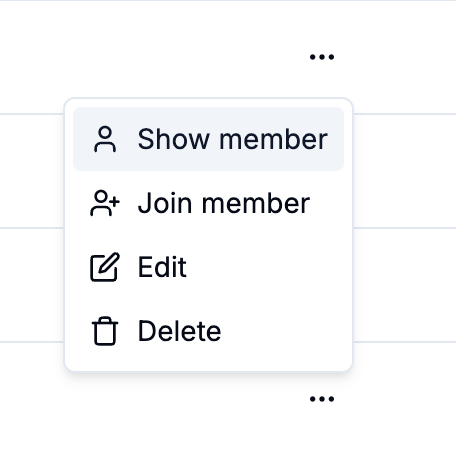
- Tap “Show member” to view
Adding Members to a Workspace
Administrators can add members to a workspace on the back end:- Click the menu button on the right side of the Workspace
- Tap “Join member”
- Assign the Role for the new member
- Add the member’s email
- Admin: Has management permissions for the Workspace, can create and edit applications
- Editor: Can create and edit applications, without Workspace management permissions
- Normal: Regular member, only has viewing permissions for applications within the Workspace, cannot create or edit applications
Adjusting Workspace Status
Workspaces include the following two statuses:- Normal: The current workspace is operating normally, members can normally use or create applications in the workspace.
- Archive: The current workspace has been archived, members cannot continue to use or create applications in the workspace.
Deleting a Workspace
⚠️ This operation is dangerous, and all data within the workspace will be lost after deletion. To delete a workspace:- Click the menu button on the right side of the Workspaces page
- Tap “Delete”
Searching for Workspaces
You can query all workspaces in the enterprise version through the workspace ID and name in the search box. Click “Reset” to reset all search conditions.