> ## Documentation Index
> Fetch the complete documentation index at: https://enterprise-docs.dify.ai/llms.txt
> Use this file to discover all available pages before exploring further.
# Configure OAuth2 with GitHub
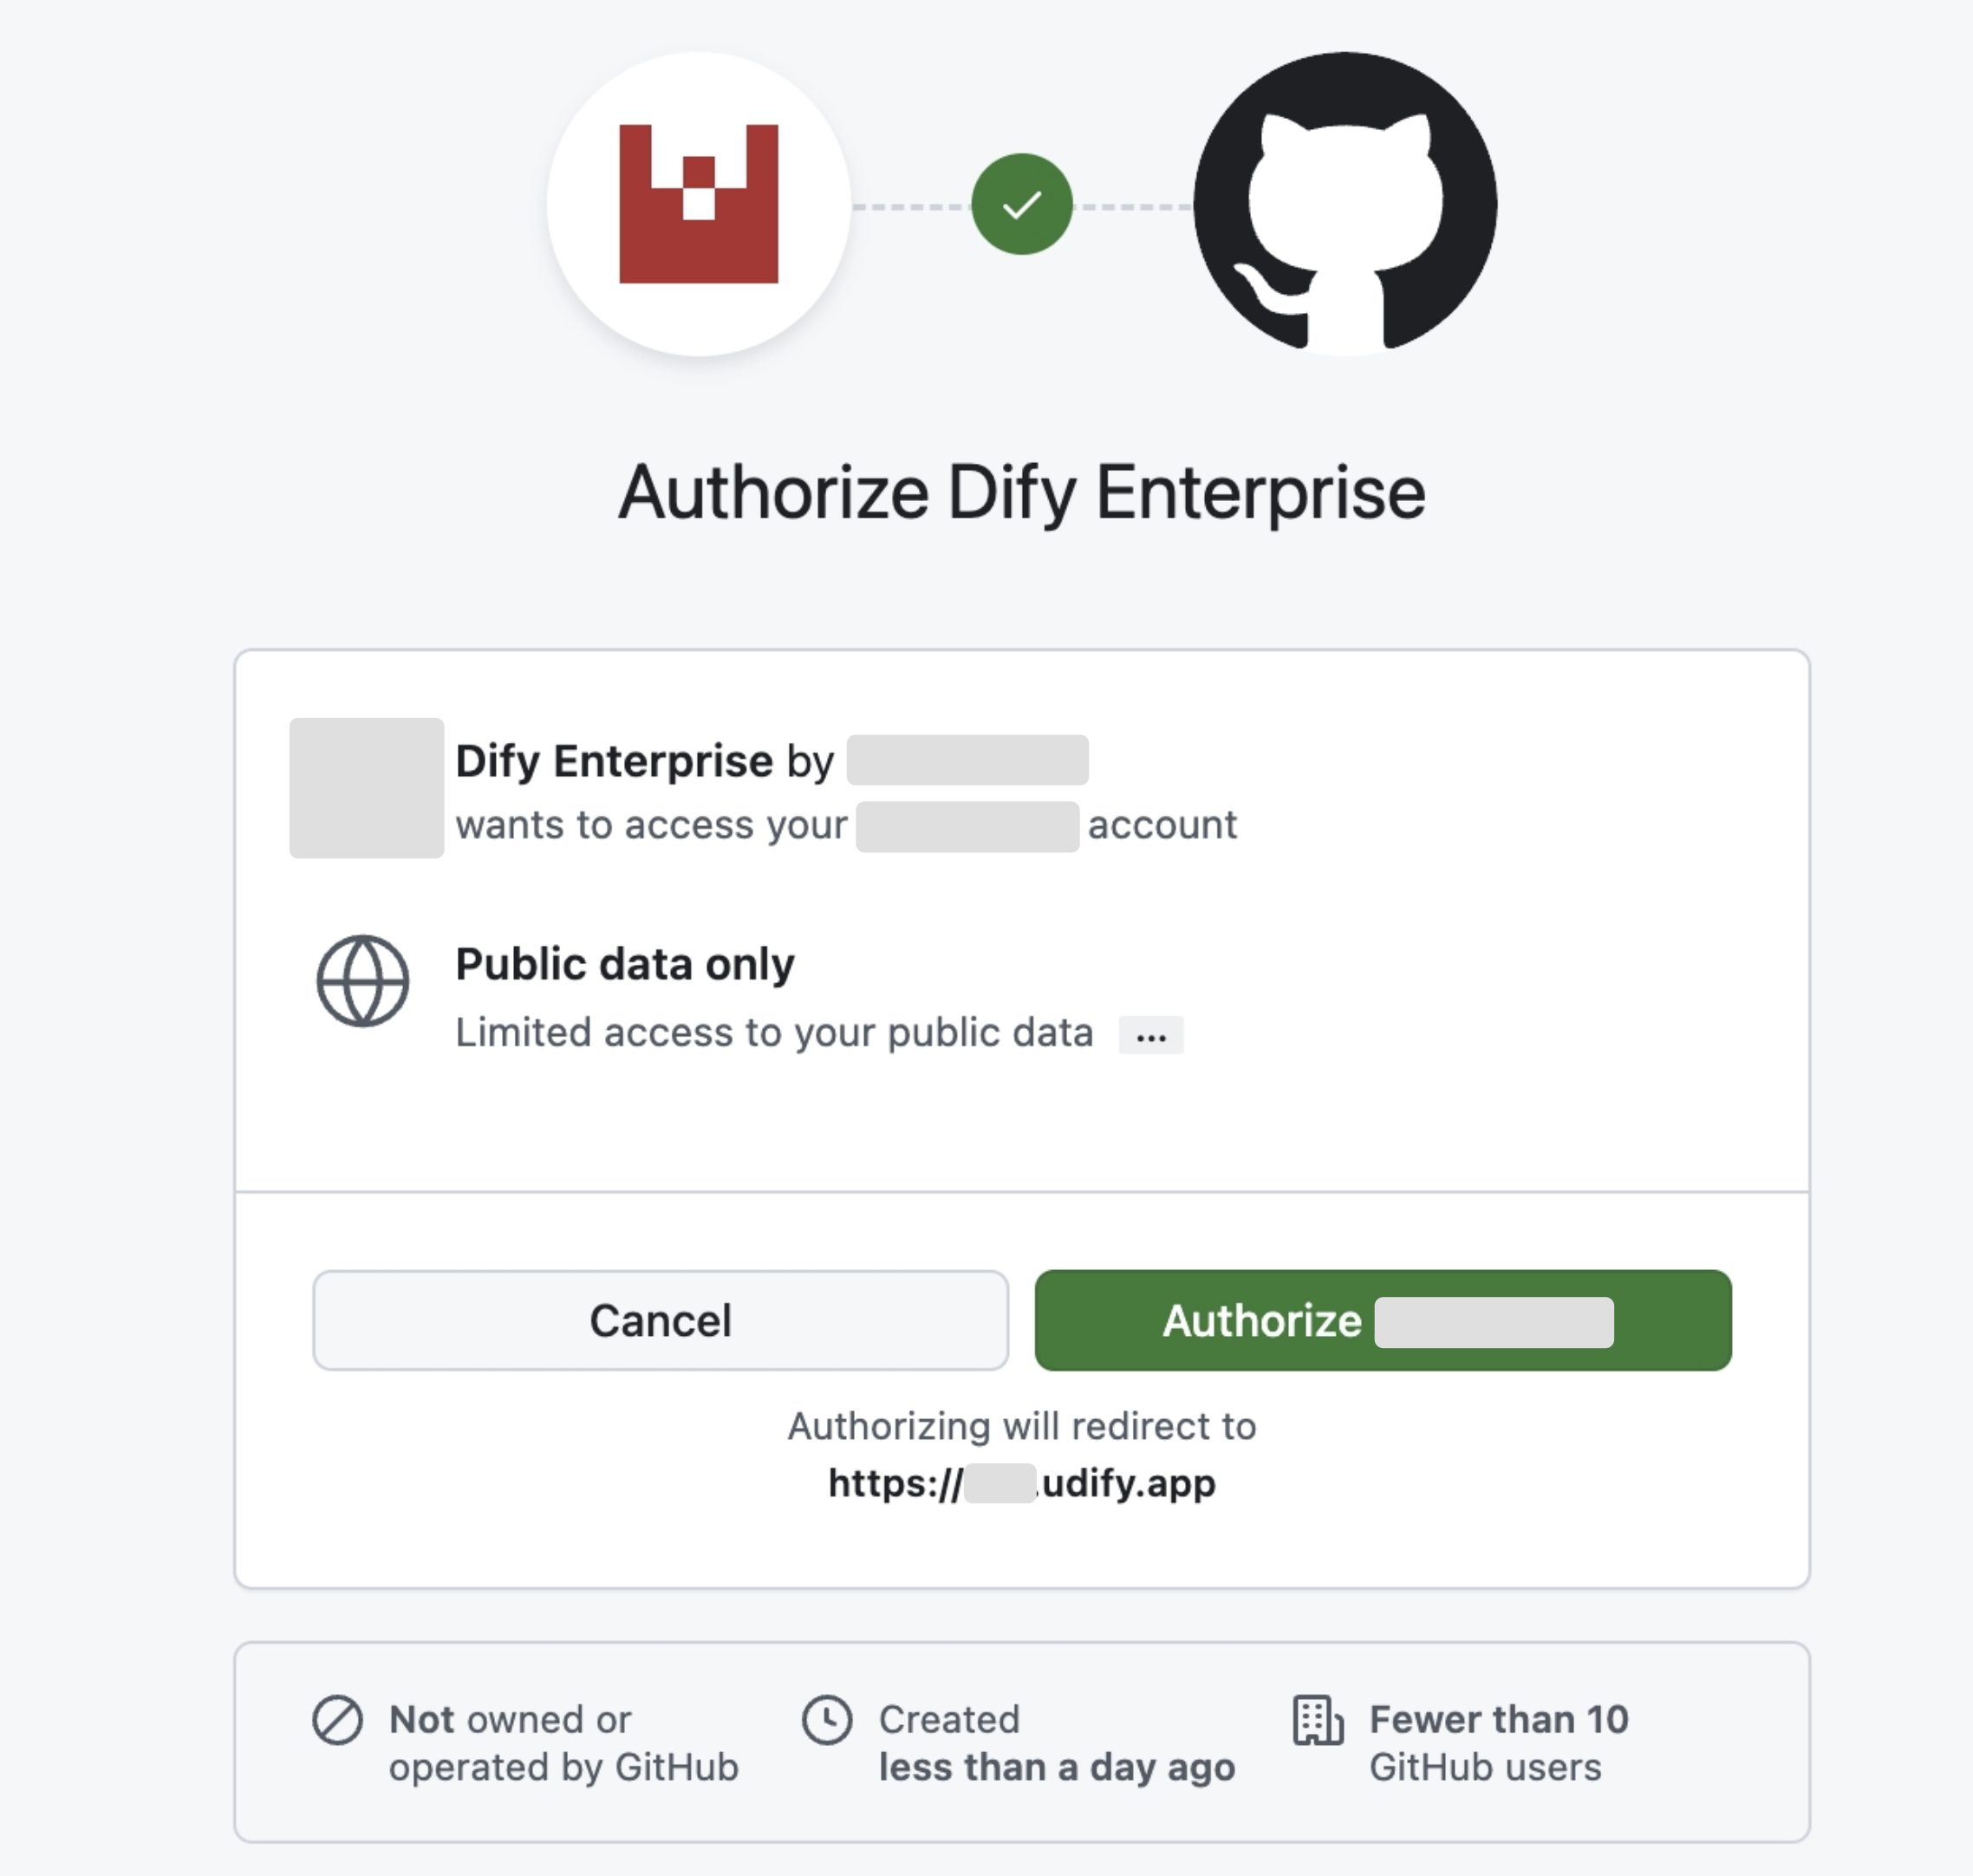
This guide uses **GitHub** as an example SSO identity provider, demonstrating how to enable OAuth2 authorization for Dify Enterprise Edition.
By enabling this feature, the login page in Enterprise Edition will utilize a unified authentication portal to enhance security. For internal enterprise users, there’s no need to set up complex passwords—logging in with an organizational account streamlines the process.
## 1. Create an OAuth App in GitHub
1. Go to the **GitHub Admin** console, navigate to **Settings**, select **OAuth Apps**, and create a new OAuth application.
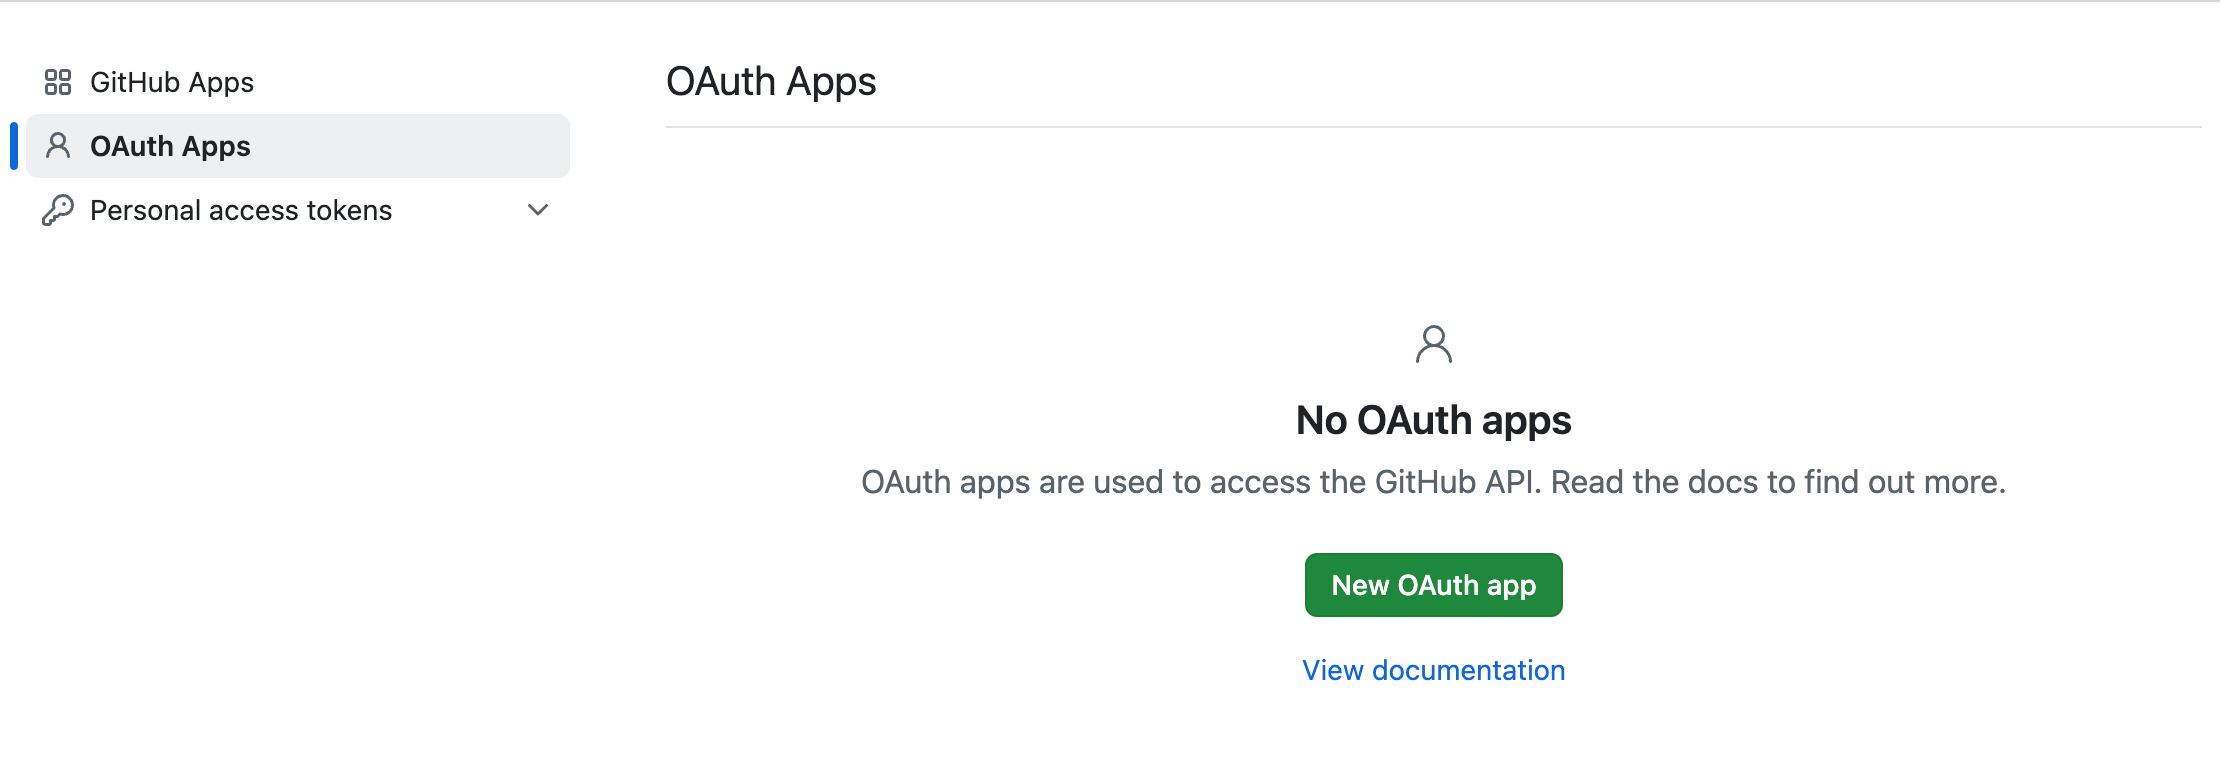
2. Follow the on-screen prompts and provide the required information to create the application:
* **Application name**: Required. You can choose any name.
* **Homepage URL**: Required. The homepage link, which is typically your Dify Enterprise platform URL.
* **Application description**: Optional. A brief description of the application.
* **Authorization Callback URL**: Required. See [below](#2-obtain-the-callback-url) for how to obtain this URL.
> For more details on creating an OAuth application in GitHub, refer to the [GitHub documentation](https://docs.github.com/en/apps/oauth-apps/building-oauth-apps/creating-an-oauth-app).
## 2. Obtain the Callback URL
Depending on the SSO scope you intend to enable, **the Callback URL may differ**. The system administrator needs to paste the Dify Enterprise **Callback URL** into the corresponding GitHub OAuth2 application in order to complete the setup.
In the Dify Enterprise **Authentication** page, under **Workspace Settings**, click **+ New Identity Provider → New OAuth2 Provider**, then find the Callback URL at the bottom.
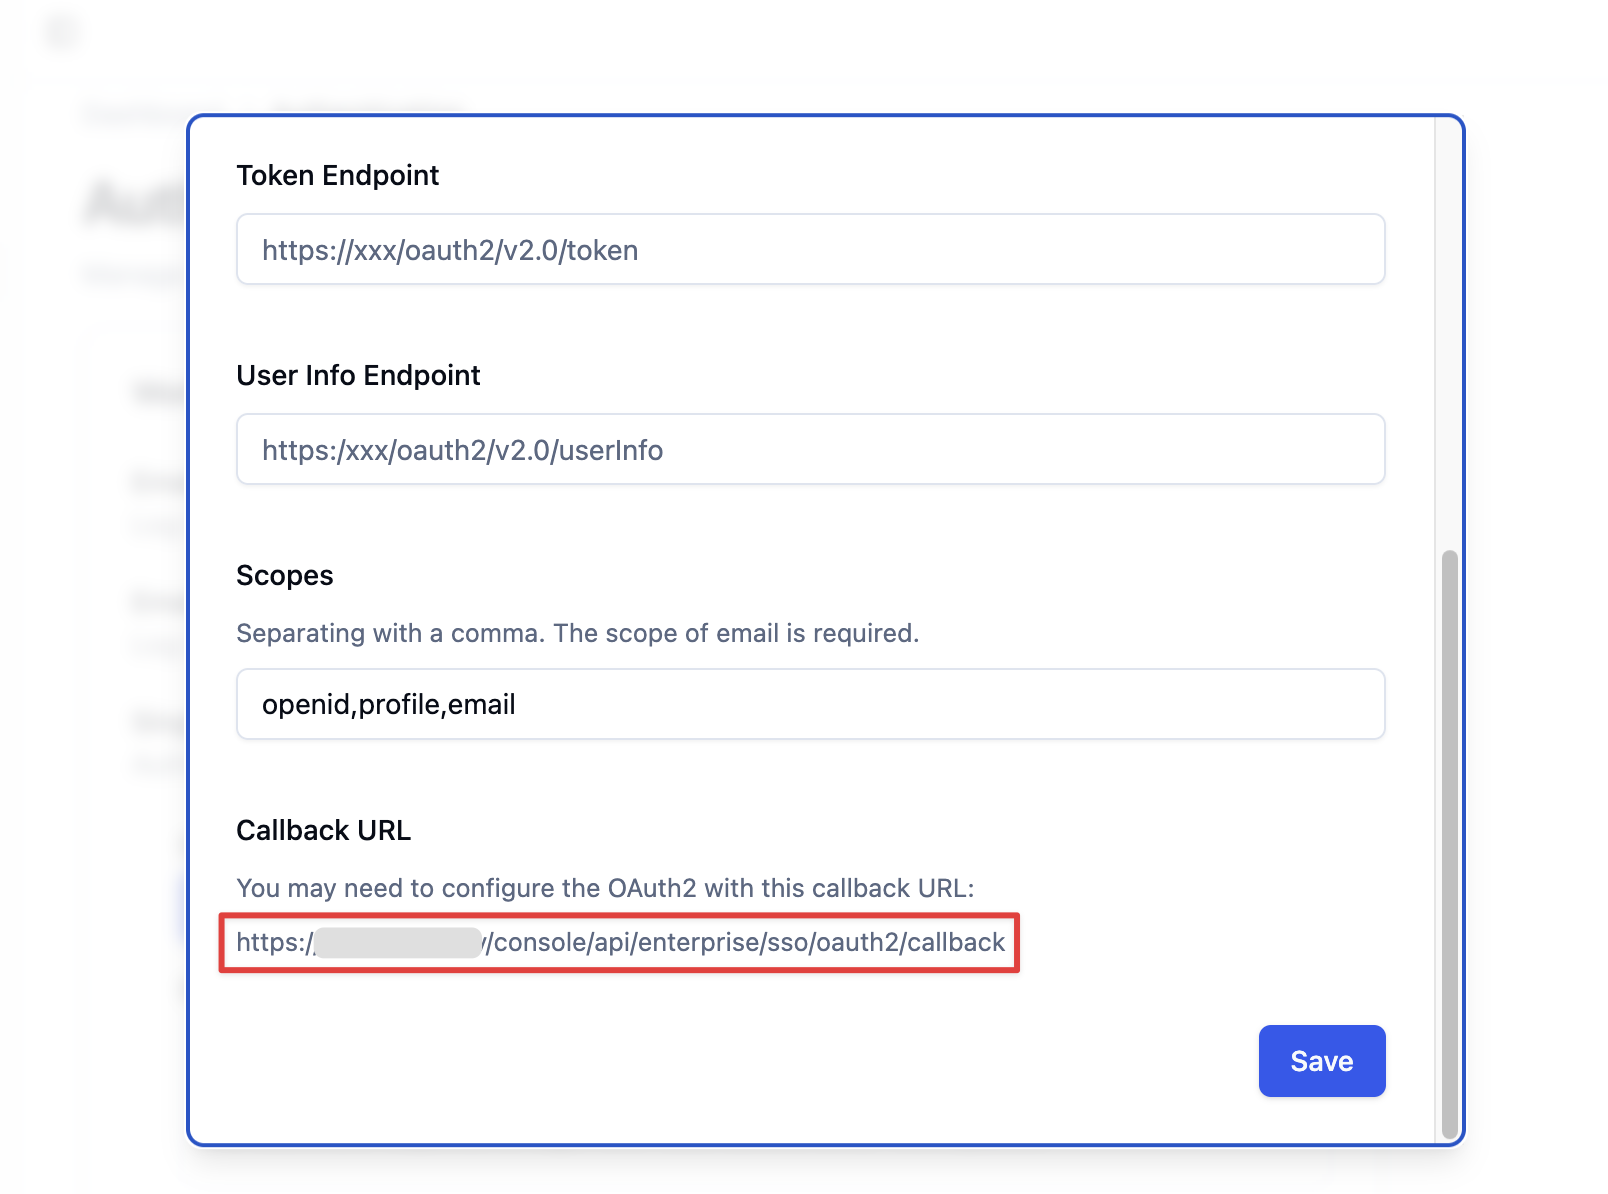
It typically follows this format:
```bash theme={null}
https://[your-dify-enterprise-url]/console/api/enterprise/sso/oauth2/callback
```
In the Dify Enterprise **Authentication** page, under **WebApp Settings**, click **+ New Identity Provider → New OAuth2 Provider**, then find the Callback URL at the bottom.
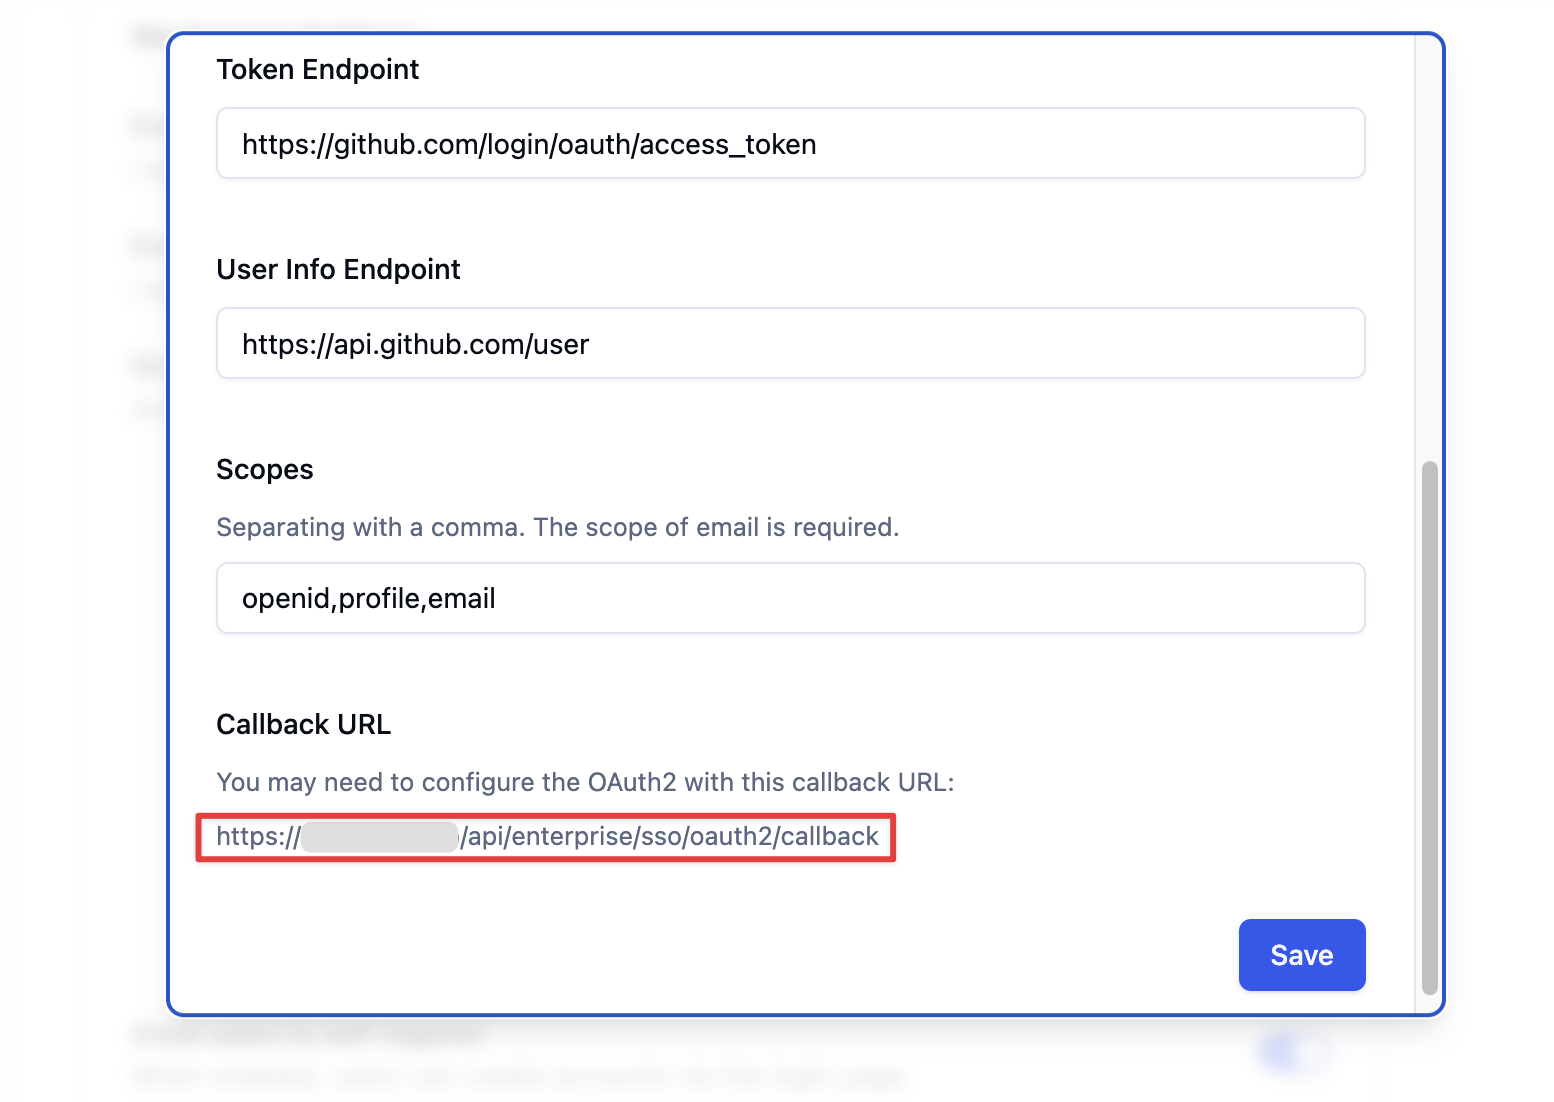
It typically follows this format:
```bash theme={null}
https://[your-app-url]/api/enterprise/sso/oauth2/callback
```
2. Paste this URL into the **Authorization callback URL** field in your GitHub OAuth application.
## 3. Enable OAuth2 Authentication
Go to the Dify Enterprise **Authentication** page, click **+ New Identity Provider → New OAuth2 Provider**, and enter the details as prompted to complete the configuration.
Retrieve the following information from your OAuth application:
* **Client ID**
* **Client Secret**
Different OAuth2 providers may require different credentials, as outlined by each provider’s official documentation. The following items are for reference and may be adjusted as needed:
* **Authorization Endpoint**: `https://github.com/login/oauth/authorize`
* **Token Endpoint**: `https://github.com/login/oauth/access_token`
* **User Info Endpoint**: `https://api.github.com/user`
* **Scopes**: `openid, profile, email`
## 4. Enable SSO Enforcement (Optional)
The system administrator can enable **SSO Enforcement** for the following two scenarios, requiring mandatory authorization:
* **Workspace**: Users must be authorized to log in to the Dify Enterprise Workspace.
* **WebApp**: Users must be authorized when accessing applications created by this Dify Enterprise instance.
When enabled, users will be prompted for authorization upon accessing these scenarios.